Description
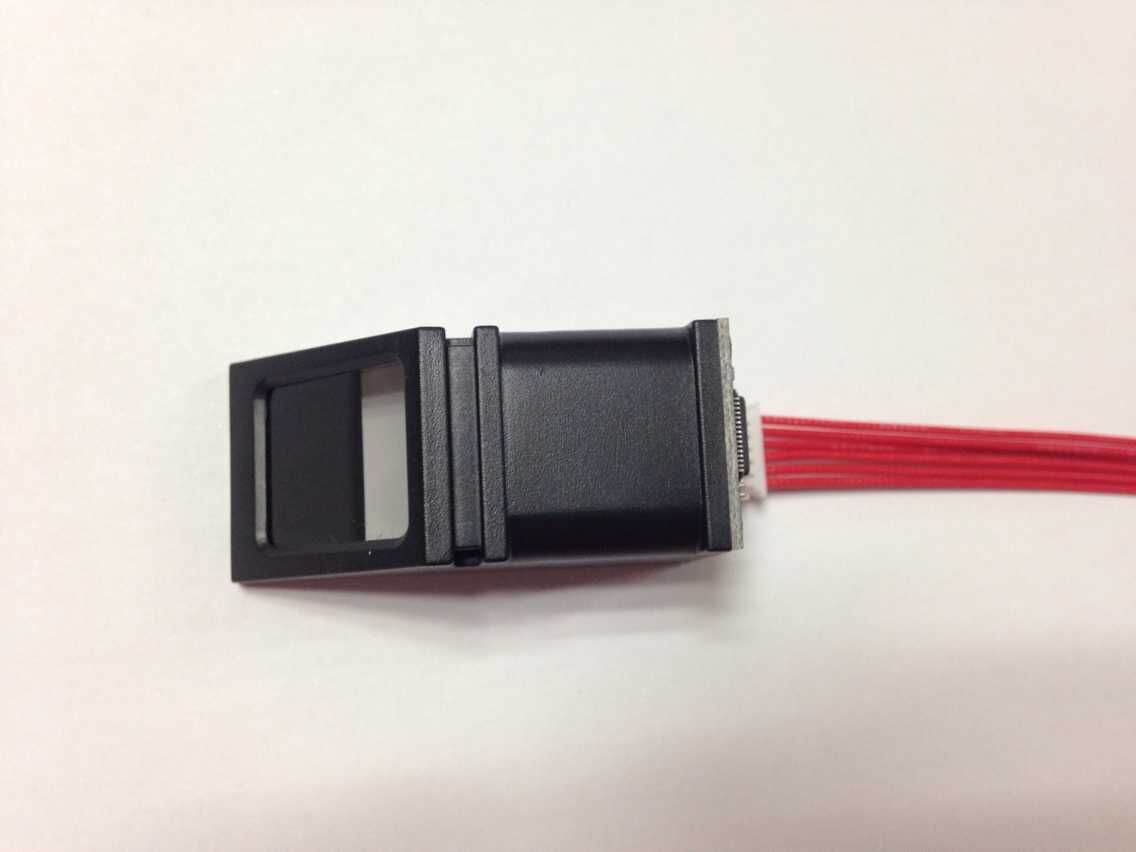
Secure your project with biometrics – this all-in-one optical fingerprint sensor will make adding fingerprint detection and verification super simple. These modules are typically used in safes – there’s a high powered DSP chip that does the image rendering, calculation, feature-finding and searching. Connect to any microcontroller or system with TTL serial, and send packets of data to take photos, detect prints, hash, and search. You can also enroll new fingers directly.
- Voltage supply: DC 3.6 to 6.0V
- Current supply: <120mA
- Backlight color: green
- Interface: UART
- Baud rate: 9600
- Safety level: five (from low to high: 1,2,3,4,5)
- False Accept Rate (FAR): <0.001% (security level 3)
- False Reject Rate (FRR): <1.0% (security level 3)
- Able to store 127 different fingerprints
How to get started with Fingerprint reader Module
Fingerprint reader module made the fingerprint recognition more accessible and easy to add into your project.These modules come with FLASH memory to store the fingerprints and work with any microcontroller. These modules can be added to security systems, door locks, time attendance systems, and much more.
Sensor Pinout
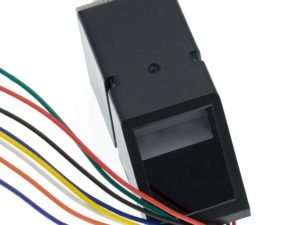
The sensor has six pins that are labeled in the figure below.

The fingerprint sensor module came with really thins wires, so you will solder jumper wires on each sensor’s wire of different color. In our case:
- DNC – Do Not Connect
- VCC – red wire
- TX – blue wire
- RX – green wire
- GND – black wire
| Fingerprint Sensor | Arduino |
| VCC | 5V (it also works with 3.3V) |
| TX | RX (digital pin 2, software serial) |
| RX | TX (digital pin 3, software serial) |
| GND | GND |
Installing the Adafruit Fingerprint Sensor Library
The easiest way to control the fingerprint sensor module with the Arduino is by using the Adafruit library for this sensor. Follow the next instructions to install the library:
- Click here to download the Adafruit Fingerprint Sensor library. You should have a .zip folder in your Downloads folder
- Unzip the .zip folder and you should get Adafruit-Fingerprint-Sensor-Library-master folder
- Rename your folder from
Adafruit-Fingerprint-Sensor-Library-masterfolder to Adafruit_Fingerprint_Sensor_Library folder - Move the folder to your Arduino IDE installation libraries folder
- Finally, re-open your Arduino IDE
Enroll a New Fingerprint
Having the fingerprint sensor module wired to the Arduino, follow the next steps to enroll a new fingerprint. Make sure you’ve installed the Adafruit Fingerprint Sensor library previously.
1. In the Arduino IDE, go to File > Examples > Adafruit Fingerprint Sensor Library > Enroll.

2. Upload the code, and open the serial monitor at a baud rate of 9600.
3. You should enter an ID for the fingerprint. As this is your first fingerprint type 1 then, click the Send button.

4. Place your finger on the scanner and follow the instructions on the serial monitor.
You’ll be asked to place the same finger twice on the scanner. If you get the “Prints matched!” message, as shown below, your fingerprint was successfully stored. If not, repeat the process, until you succeed.

Store as many fingerprints you want using this method.
Finding a Match
You now should have several fingerprints saved on different IDs. To find a match with the fingerprint sensor, follow the next instructions.
1. In the Arduino IDE, go to File > Examples > Adafruit Fingerprint Sensor Library > Fingerprint and upload the code to your Arduino board.

2. Open the Serial Monitor at a baud rate of 9600. You should see the following message:
3. Place the finger to be identified on the scan.
4. On the serial monitor, you can see the ID that matches the fingerprint. It also shows the confidence – the higher the confidence, the similar the fingerprint is with the stored fingerprint.

Project Example – Show Fingerprint Match on OLED display
In this project example, we’ll enroll two fingerprints from two different persons. Then, we’ll display a greeting message accordingly to the match found, on an OLED display. To learn more about the OLED display read: OLED Display with Arduino.
Parts required
For this example you’ll need the following parts:
Schematics
Here’s the wiring diagram you should follow to make the circuit for this project.
Installing the 0.96 inch OLED libraries
Read: How to get started with OLED display, to integrate the OLED display in this example. After you have properly wired the OLED display into the circuit, head over your arduino IDE.

Code
Before uploading the code, you need to enroll different fingerprints from different persons. Go to “Enroll a New Fingerprint” section above, upload the given code and follow the instructions to enroll two fingerprints.
Then, modify the code so that the fingerprint IDs match the name of the persons enrolled – scroll down to the page for an explanation of the code. Finally, you can upload the fingerprint oled skecth provided.
Importing libraries
The code starts by importing the needed libraries to write in the OLED display, and creates an Adafruit_SSD1306 object called display.
#include <Wire.h>
#include <Adafruit_GFX.h>
#include <Adafruit_SSD1306.h>
#define OLED_RESET 4
Adafruit_SSD1306 display(OLED_RESET);
We also need to import the libraries needed for the fingerprint sensor: Adafruit_Fingerprint.h and SoftwareSerial.h.
#include <Adafruit_Fingerprint.h>
#include <SoftwareSerial.h>
SoftwareSerial mySerial(2, 3);
The following line sets software serial on pins 2 and 3. Pin 2 as RX, and Pin 3 as TX.
SoftwareSerial mySerial(2, 3);
Then, we create a an Adafruit_Fingerprint object called finger on the serial pins we’ve set previously.
Adafruit_Fingerprint finger = Adafruit_Fingerprint(&mySerial);
The next two lines create variables to hold the fingerprint ID and the IDname.
int fingerprintID = 0;
String IDname;
setup()
In the setup(), both the fingerprint sensor and the OLED display are initialized. We also print a message on the serial monitor so that we know if the fingerprint sensor was found successfully.
void setup()
{ //Fingerprint sensor module setup
Serial.begin(9600);
// set the data rate for the sensor serial port
finger.begin(57600);
if (finger.verifyPassword()) {
Serial.println(“Found fingerprint sensor!”);
}
else {
Serial.println(“Did not find fingerprint sensor :(“);
while (1) { delay(1); }
}
//OLED display setup Wire.begin();
display.begin(SSD1306_SWITCHCAPVCC, 0x3C);
//displays main screen displayMainScreen();
}
loop()
In the loop(), the code displays the main screen on the OLED display – this is done in the displayMainScreen()function. Then, the code is continuously checking for incoming fingerprints. If the sensor founds a saved fingerprint, the Arduino saves the corresponding ID in the fingerprintID variable.
Then, the code has an if/else statement to check the ID the fingerprint corresponds to. You should edit the following lines of code with the corresponding IDs and names.
if(fingerprintID == 1 || fingerprintID == 3 || fingerprintID == 4 || fingerprintID == 5){
IDname = “Gwiza“; displayUserGreeting(IDname);
}
else if(fingerprintID == 2){ IDname = “Christian“;
Sometimes, the sensor will recognize a fingerprint better if it is saved several times in different IDs. After identifying the ID name, the OLED displays a greeting – this is done in the displayUserGreeting() function,
Results

Resources
Getting Started with Fingerprint
Adafruit Video: Getting Started with the Fingerprint Sensor

