Description
This module (MicroSD Card Adapter) is a Micro SD card reader module, and the SPI interface via the file system driver, microcontroller system to complete the MicroSD card read and write files. Module features are as follows: . Support Micro SD Card (<=2G), Micro SDHC card (<=32G) (high-speed card) . The level conversion circuit board that can interface level is 5V or 3.3V . Power supply is 4.5V ~ 5.5V, 3.3V voltage regulator circuit board . Communication interface is a standard SPI interface . 4 M2 screw positioning holes for easy installation . Size: 4.1 x 2.4cm
Getting started with the Micro SD Storage Board SD TF Card Memory Shield Module Adapter for Arduino
The micro-SD Card Module is a simple solution for transferring data to and from a standard SD card. The pin out is directly compatible with Arduino, but can also be used with other microcontrollers. It allows you to add mass storage and data logging to your project.
Preparing the micro SD card
Before you insert the micro SD card into the module and hook it up to the Arduino, you must properly format the card. For the Arduino library we’ll be discussing, and nearly every other SD library, the card must be formatted FAT16 or FAT32.
If you have a new SD card, chances are it’s already pre-formatted with a FAT file system. However you may have problems with how the factory formats the card, or if it’s an old card it needs to be reformatted. Either way, it’s always good idea to format the card before using, even if it’s new!
We strongly recommend you use the official SD card formatter utility – written by the SD association it solves many problems that come with bad formatting! Download the formatter and run it on your computer, just select the right drive and click FORMAT.

Step1: Hardware required
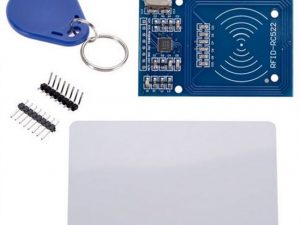
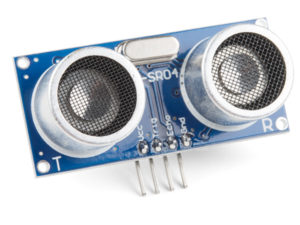
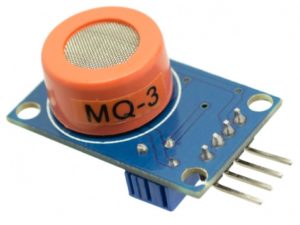
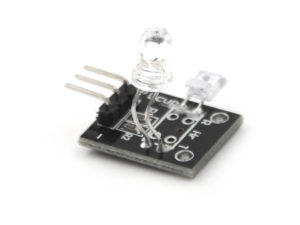
For this tutorial, the items needed to run this project are:
Step2: Connecting the Hardware
Now that your card is ready to use, we can wire up the micro SD breakout board!
To start with, insert the micro SD card module into the breadboard. Connect VCC pin on the module to 5V on the Arduino and GND pin to ground. Now we are remaining with the pins that are used for SPI communication.
Note that each Arduino Board has different SPI pins which should be connected accordingly.
| MOSI | MISO | SCK | CS | |
| Arduino UNO | 11 | 12 | 13 | 10 |
| Arduino NANO | 11 | 12 | 13 | 10 |
| Arduino MEGA | 51 | 50 | 52 | 53 |

Step3: Arduino Code – Testing the SD card module with CardInfo

This sketch will not write any data to the card. It just tells you if it managed to recognize the card, and displays some information about it. This can be very useful when trying to figure out whether an SD card is supported. Before trying out any new card, we recommend you to run this sketch once!
Go to the beginning of the sketch and make sure that the chipSelect line is correctly initialized, in our case we’re using digital pin #10 so change it to 10!

OK, now insert the SD card into the module and upload the sketch.
As soon as you open the Serial Monitor, you’ll probably get something like the following:

You may find it gibberish, but it’s useful to see the card type is SDHC (SD High Capacity), Volume type is FAT32 as well as the size of the card about 4 GB etc.
If you have a bad card, which seems to happen more with clone versions, you might see:

The card mostly responded, but the data is all bad. See there is no Manufacturer ID / OEM ID and the Product ID is ‘N/A’. This shows that the card returned some SD errors. It’s basically a bad scene. If you get something like this, you can try to reformat it or if it still flakes out, you should toss the card.
Finally, try taking out the SD card and running the sketch again, you’ll get the following,

See, it couldn’t even initialize the SD card. This can also happen if there’s a wiring error or if the card is permanently damaged.
If the wiring is correct but the SD card is not properly formatted, you’ll get something like this: