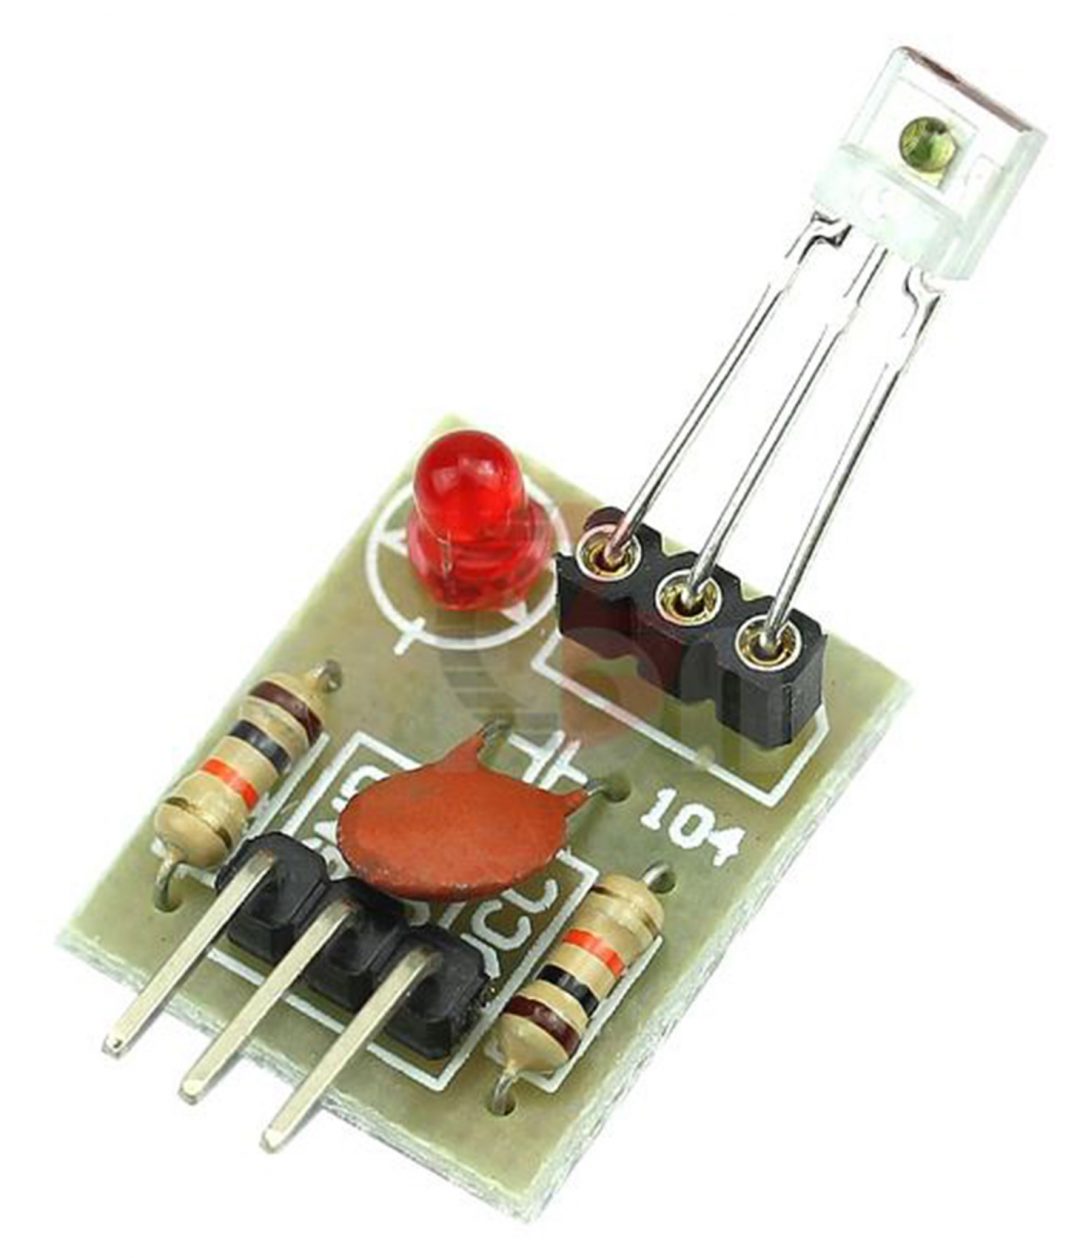
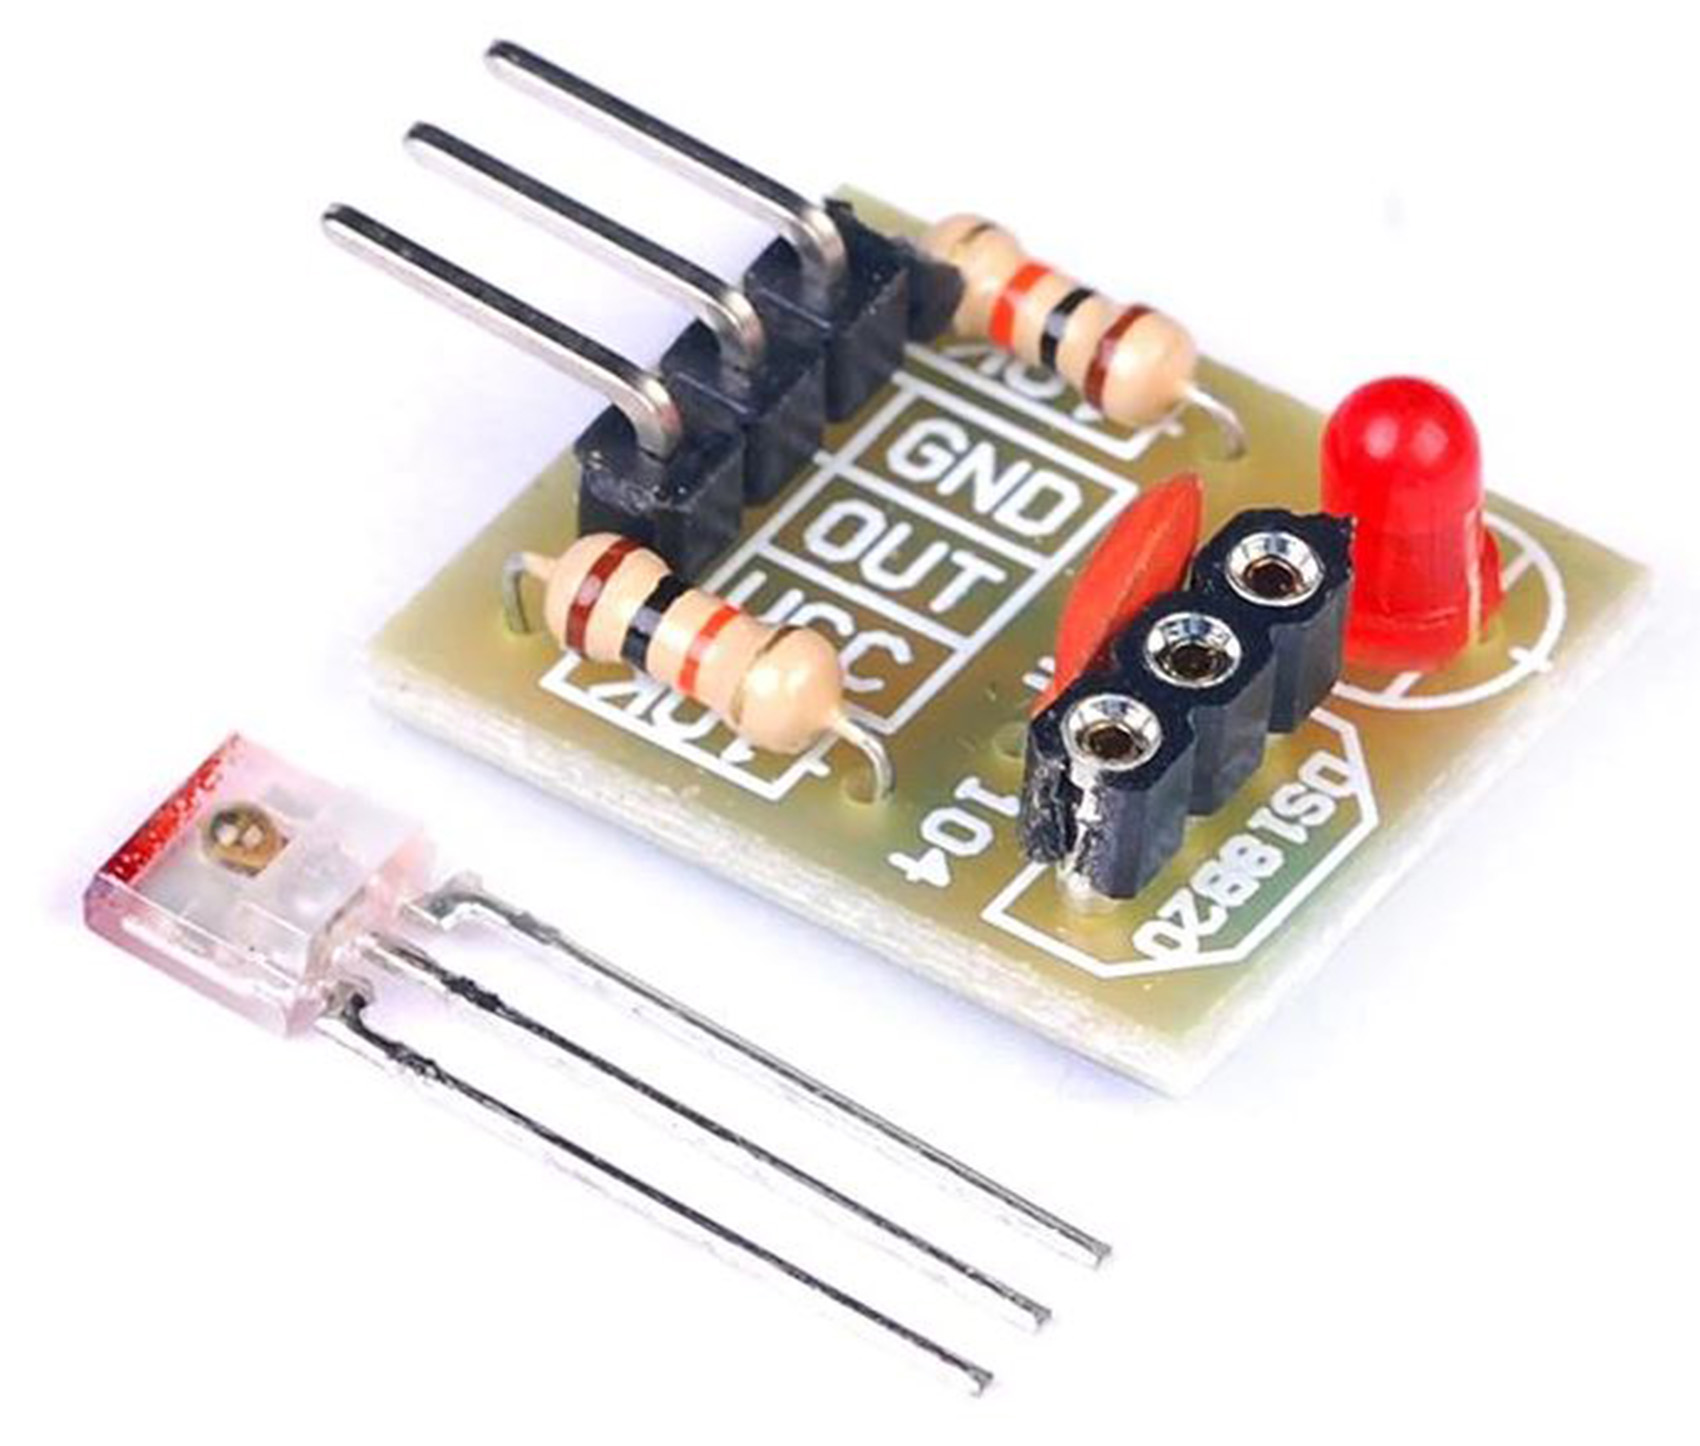
Description
This 5V Laser Receiver Sensor Module output High Level is a sensor for Raspberry Pi and Arduino to receive the laser output and decode it digital data. At Input, the module Receive laser signal when output high level; Does not receive laser signal when output low level. On detecting a laser signal, output goes at a high level (5V) until the laser signal is there.
Features
- Non-modulated laser beam for consistent signal detection
- Compact and lightweight design
- Easy to interface via analog or digital outputs
- Wide operating voltage range
- High sensitivity and fast response time
Technical Specifications
| Specification | Details |
|---|---|
| Laser Type | Non-Modulated Tube Laser |
| Operating Voltage | 3.3V to 5V |
| Detection Range | Up to X meters (specify) |
| Output Signal | Analog/Digital |
| Interface | GPIO / ADC (Arduino compatible) |
Interfacing Laser Receiver Sensor Module to Arduino: Laser Sensor Security System
This project implements a laser-based security system using an Arduino Uno, consisting of a laser transmitter and receiver module. When the laser beam between the transmitter and receiver is interrupted, the system triggers an alarm through a buzzer and visual indication through an LED.
Project features:
- Real-time laser beam interruption detection
- Visual feedback through LED indicator
- Audible alarm through buzzer
- Serial monitor status reporting
- Simple and reliable security implementation
Components Required
- Arduino Uno Rev3
- 5V Active Buzzer
- LED
- Laser Sensor Module
- KY-008 Laser Transmitter Module
- 220 Ohm resistor
- Jumper wires
Pin Configuration
| Component | Arduino Pin |
|---|---|
| Laser Tx | D2 |
| Laser Rx | D3 |
| LED | D12 |
| Buzzer | D5 |
Circuit Diagram of Laser Receiver Sensor Module to Arduino

The circuit should be connected as shown in the schematic diagram above.
How It Works
- The laser transmitter continuously emits a laser beam to the receiver
- When the beam is uninterrupted:
- LED is ON (system armed)
- Buzzer is OFF
- Serial monitor shows “Secure – Beam connected”
- When the beam is interrupted:
- LED turns OFF
- Buzzer activates
- Serial monitor shows “ALERT! Beam interrupted!”
Installation
- Connect the components according to the circuit diagram
- Upload the provided Arduino code to your Arduino Uno
- Open Serial Monitor (baud rate: 9600)
- Power up the system
Serial Monitor Output
The system provides real-time status updates through the Serial Monitor:
Laser Security System Initializing...
System Armed and Ready!
Status: Secure - Beam connected
Status: ALERT! Beam interrupted
Usage
The system will start working immediately after powering up:
- Green LED indicates system is armed and functioning
- Buzzer will sound when the laser beam is interrupted
- Monitor system status through Serial Monitor
Safety Notes
- ⚠️ Do not point the laser beam at eyes
- ⚠️ Ensure proper voltage levels for all components
- ⚠️ Double-check connections before powering up
- Keep laser path clear of reflective surfaces
Applications
- Distance measurement
- Obstacle avoidance robots
- Industrial automation
- Security and monitoring systems
Package includes:
1×Laser Sensor Module