Description

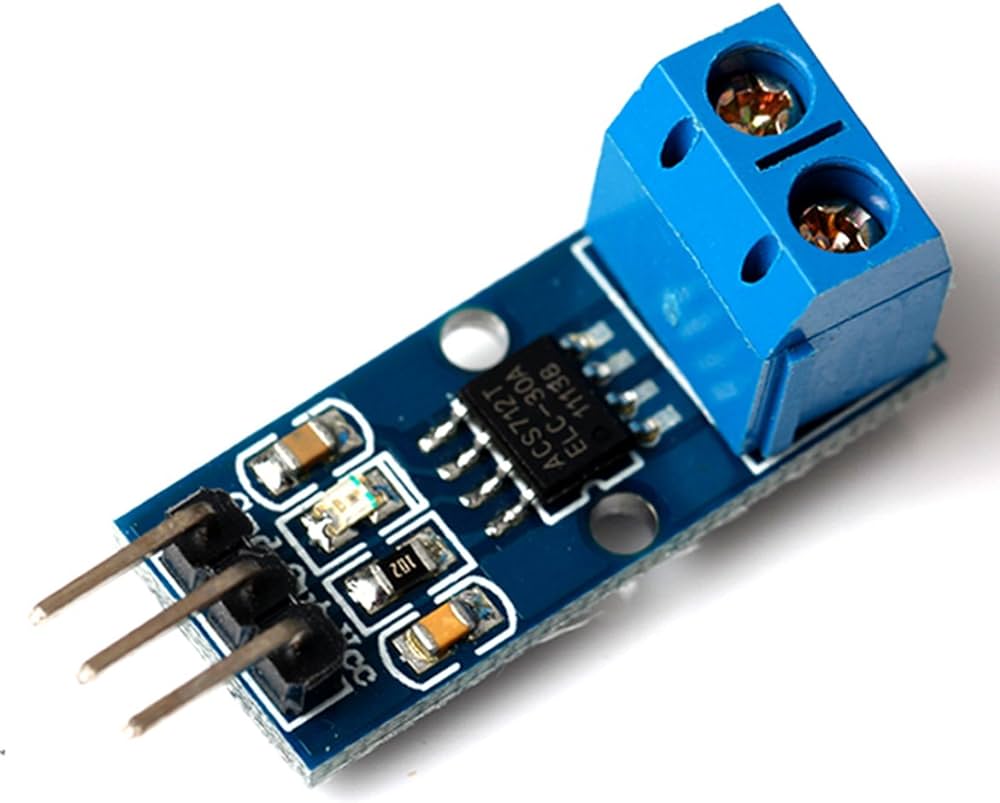
 The current sensor chips: ACS712ELC-30A
- The module can measure the positive and negative 30 amps, corresponding to the analog output 66mV / A
- Pin 5V power supply, on-board power indicator
- Using gold plated circuit boards
- No test current through the output voltage is VCC / 2
- Size: 31 x 13mm
Getting started with the 30A range Current Sensor Module ACS712 Module
Sensing and controlling current flow is a fundamental requirement in a wide variety of applications including, over-current protection circuits, battery chargers, switching mode power supplies, digital watt meters, programmable current sources, etc. This ACS721 current module is based on ACS712 sensor, which can accurately detect AC or DC current. The maximum AC or DC that can be detected can reach 30A, and the present current signal can be read via analog I / O port of Arduino
Step1: Hardware required
Step2: Connecting the Hardware
Arduino test the crrrent.

Installing the Current Sensor Module ACS712
Click here to download the Current Sensor Module ACS712 Library You should have a .zip folder in your Downloads folder. Move the folder to your Arduino IDE installation libraries folder.
Library
Step3: Upload the sample sketch
#include “ACS712.h”
/*
This example shows how to measure DC current
*/
// We have 30 amps version sensor connected to A1 pin of arduino
// Replace with your version if necessary
ACS712 sensor(ACS712_30A, A0);
void setup() {
Serial.begin(9600);
// This method calibrates zero point of sensor,
// It is not necessary, but may positively affect the accuracy
// Ensure that no current flows through the sensor at this moment
sensor.calibrate();
}
void loop() {
// Get current from sensor
float I = sensor.getCurrentDC();
// Send it to serial
Serial.println(String(“I = “) + I + ” A”);
// Wait one second before the new cycle
delay(1000);
}
Step4: Testing the circuit
open your serial monitor by clicking on the icon in the right top corner(like search icon)


