
Ever wondered what to do with Raspberry Pi boards you haven’t used in a while? Do you tend to upgrade your projects to newer models, leaving previous ones languishing at the back of a drawer? There are a lot of venerable Raspberry Pis out there doing useful stuff just as well as ever.
we understand that ending up with older boards lying around doing nothing is a thing. Rather than leave them to gather dust, you now have a sustainable way to get your unused tech back in the hands of makers who’ll put it to work.
Faranux gives you rewards in return for your preloved boards: Agreed amount per working board
We accept the following boards
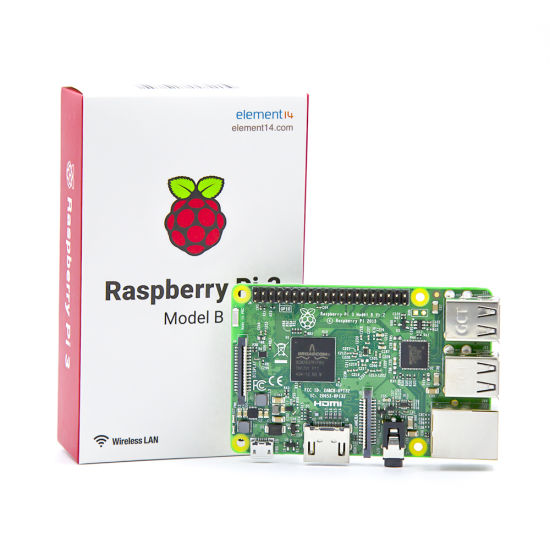
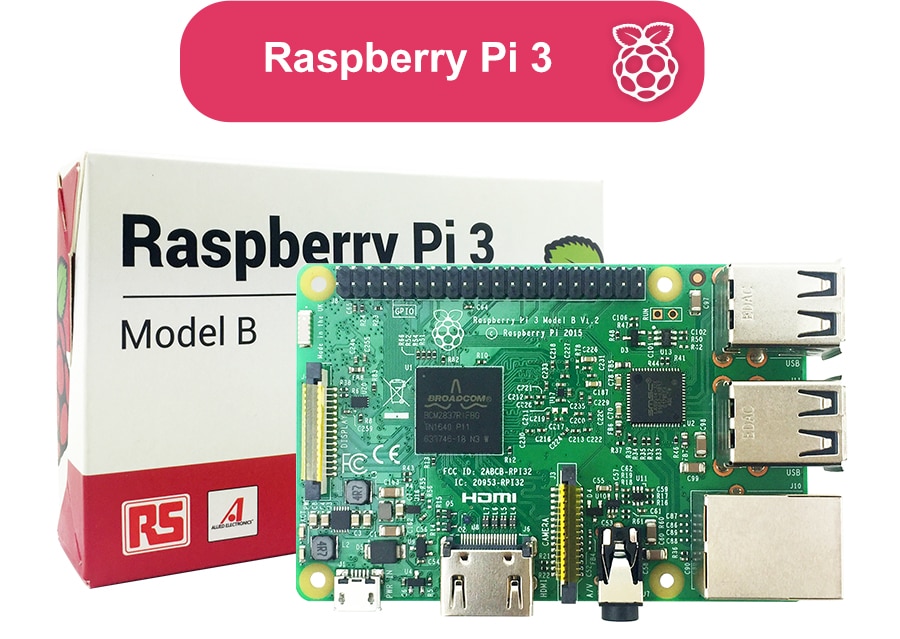
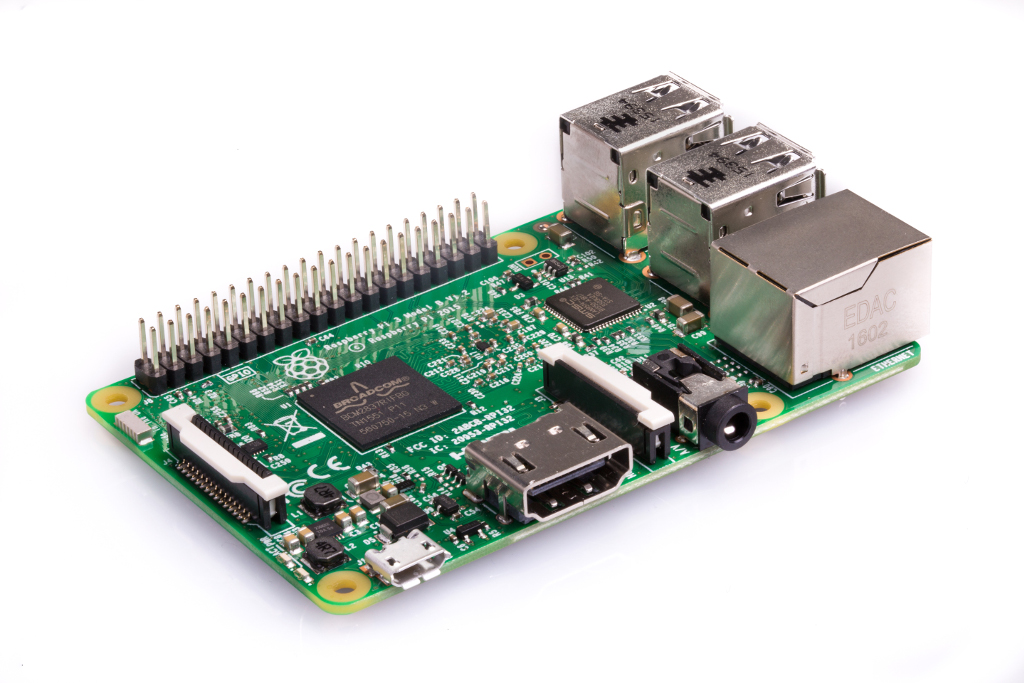
- Raspberry Pi 3 Model B
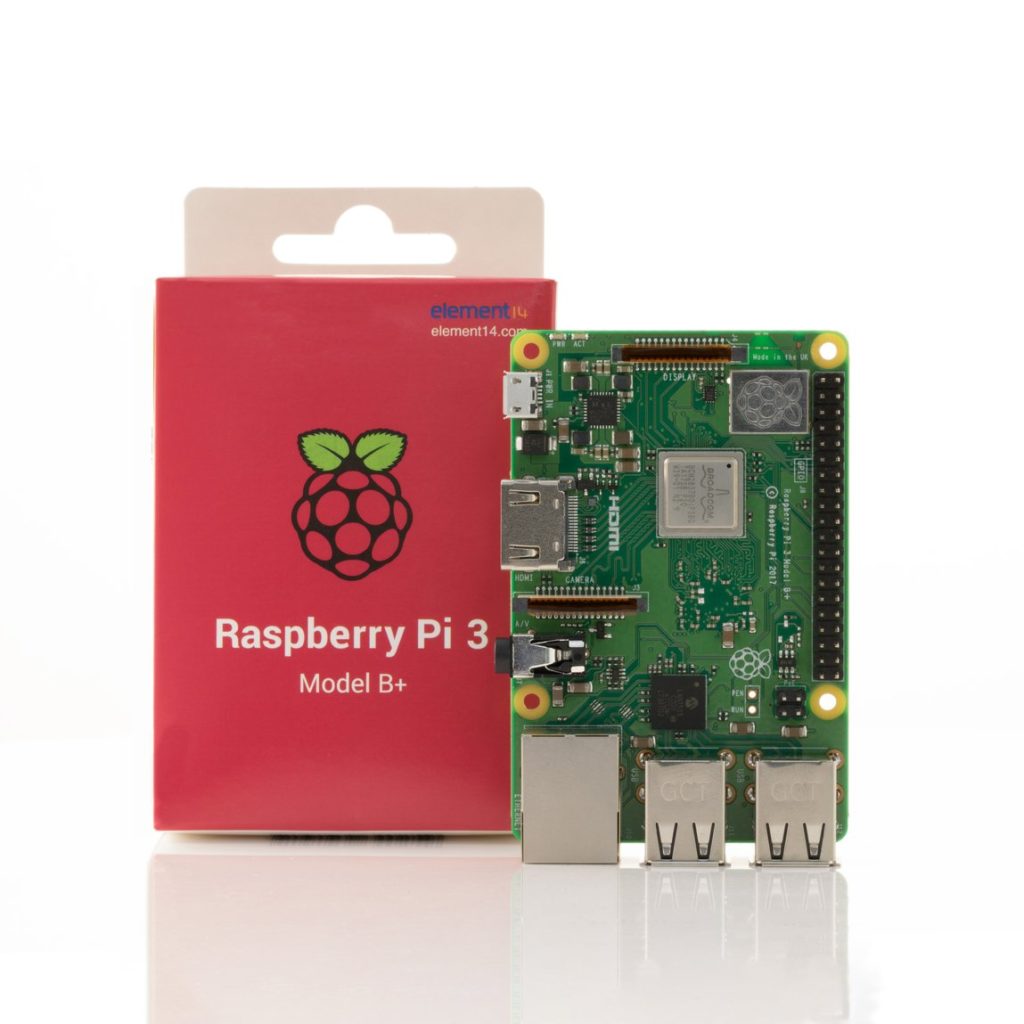
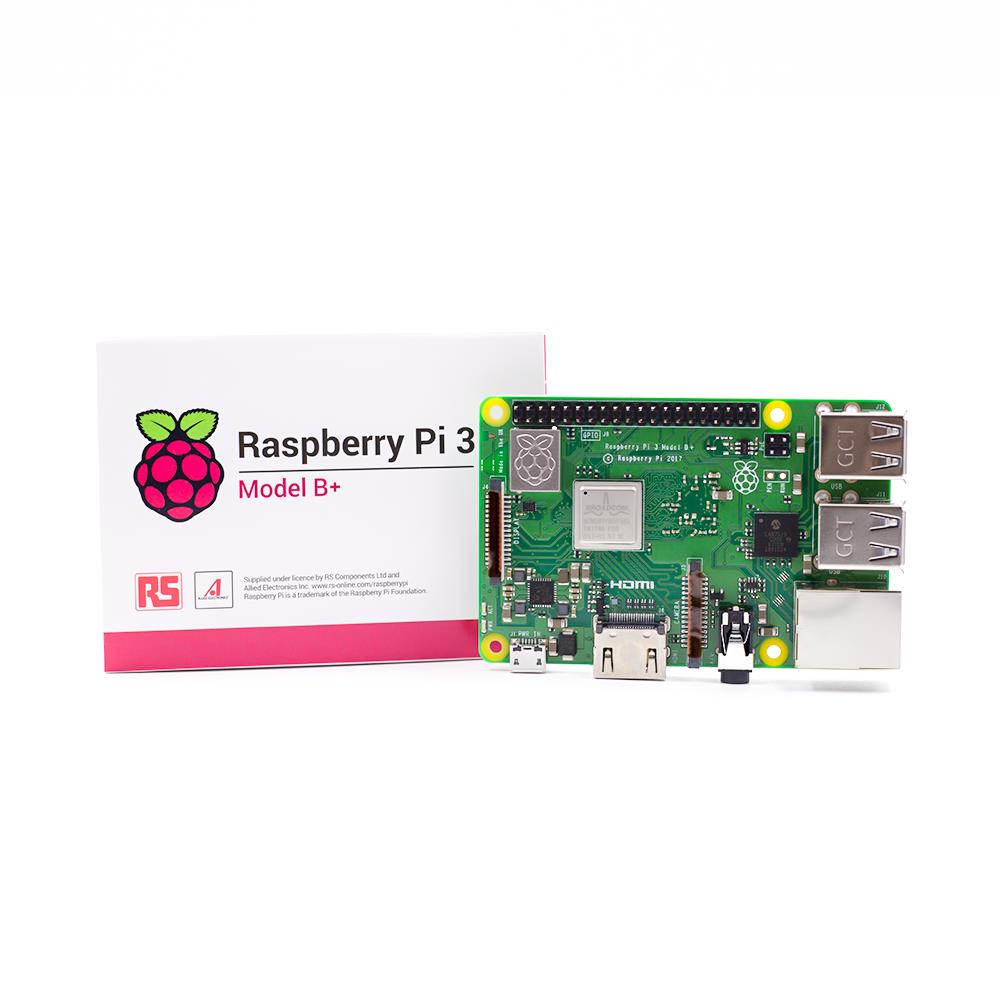
- Raspberry Pi 3 Model B+
- Raspberry Pi 4
When your unused board gets here, We will
- Tested in 5 working days
- Fill and sing the owner’s form
- You will receive one stamped copy of the owner’s form
- Test the board, confirm if the board is still in usable condition
- Pay you within 5 business days, 10,000 RWF per working board
For more information call/ WhatsApp: +250 786 396 995